
.
Sweet mother of mercy I wish the title of this post were accurate...
Hi there, remember me? I'm that guy who used to write on this blog all the time, but then he didn't. And then a little later he said he was going to start writing all the time again, but "all the time" translated into "about once every 3 months." Then 3 months became 4, and 4 became 6, and several bald eagle chicks reached maturity, and 12 or so polar bears probably died, and a million jackasses spent their weekends memorizing Thomas Jefferson quotes so that they could spew them at the newly popularized "jackass rallies" that were popping up all over the place. And the planet we call Earth... it turned. Oh, how it turned!
I guess what I'm trying to say here is that I'm earnestly hoping to do more posts going forward here. Not 3 a week, or even 3 a month, but something sustainable. One a month, I'm hoping. Sometimes 2. We'll see how it goes - no promises, just intentions.
ANYWAY...
I just wrapped up a pretty kickass repurposing project, and I'd like to show and tell y'all about it. Pull up a chair, won't ye?
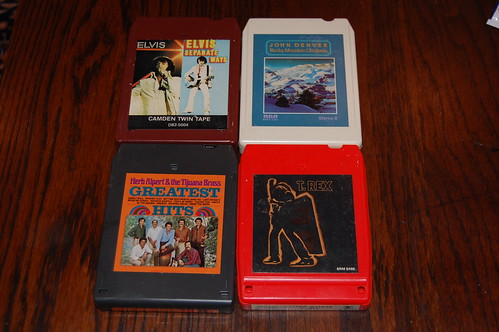
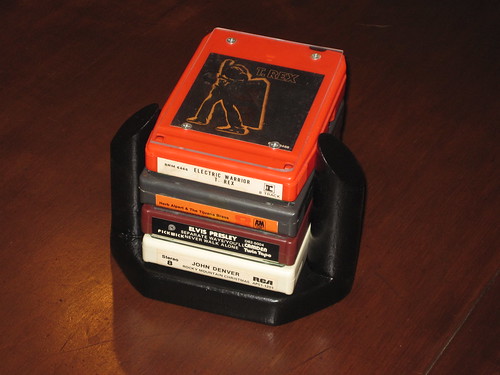
These are called 8 track cassettes. I've been told that their sound quality is absolutely horrific (I've never had the chance to hear one myself), but I've always thought their appearance deftly toes the line between ugly and interesting, sort of like those evolutionary oddities that emerged during the last great ice age. And really, when you think about it, that's what the 1970's were: The music industry's ice age. A time of transition between the meaningful, revolutionary rock of the 1960's and the meaningless excessive techno pop of the 1980's.
For what it's worth, I'd choose 80's music over 60's music any day of the week.
Anyway, several years ago I went through a fairly short "what can I make out of antiquated objects from the world of recorded music" phase (evidenced here and here) and came up with an idea to turn 8 track cassettes into coasters. As is often the case with me, it took about 2 years for me to turn this idea into a reality.
The first phase of this project required me to get 4 pieces of sturdy Plexiglas that would fit inside the raised plastic "runners" (or "ridges" or "thin, long bumps" or whatever else you want to call them) that run along the top of most 8 track cassettes. Now, normally this would actually require a great deal of time and effort due to the fact that Plexiglas is nearly impossible to cut without a dedicated Plexiglas cutting machine, but fortunately the fine folks down at the True Value hardware store on Colfax and Monaco in Denver (AKA, the single best hardware store in and around the metro area) have a dedicated Plexiglas cutting machine and were more than happy to cut some sheets out for me to my exact specifications.
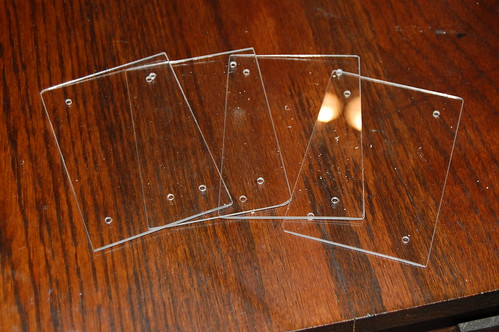
It's excellent services like these that make me hope against hope that legitimate hardware stores can survive in the age of Home Depot. Unfortunately, the fact that they only charged me 9 dollars for the Plexiglas and the labor involved to cut it down to the sizes I need makes me realize that they probably won't. Uggh.
For the record, I drilled the holes in the Plexiglas myself. Wasn't at all difficult - took about 3 minutes to do all of them. I was initially worried that the Plexi would crack during drilling, but it didn't. Not even a little bit.
I used the drilled Plexi sheets as a guide to drill matching holes into the top of each 8 track cassette, then I just put in some screws to attach the Plexi to the 8 tracks.
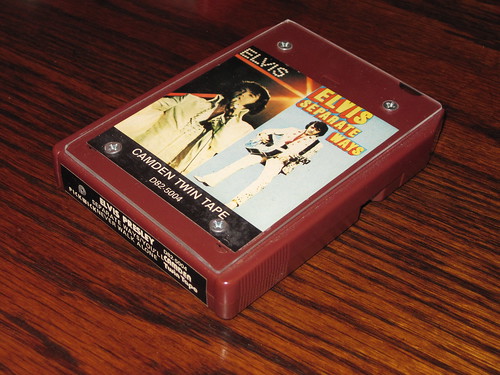
I also cut out some small pieces of adhesive felt and stuck them to the bottom of each 8 track to complete their transition from "music-like object" to "coaster-like object."
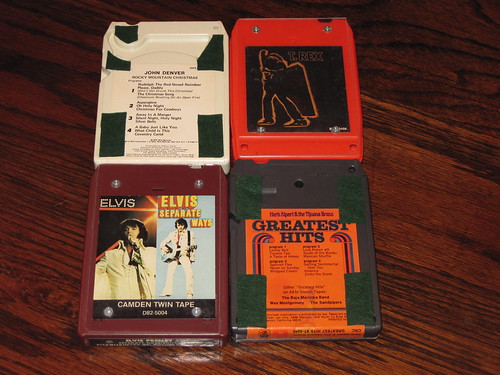
You know, it's almost a shame that I don't have an 8 track player lying around. I'm sure listening to Christmas for Cowboys and Please Daddy (don't get drunk this Christmas) would make the McHanslaw family Christmas this year all the more memorable.
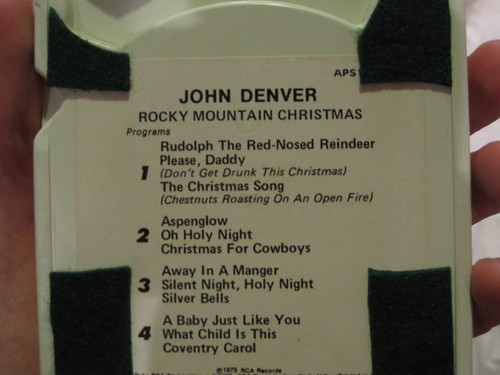
(Note: proper credit should be given to the venerable Angwart Schmidt Borlovsky for taking notice of the awesome track listing on this particular album)
With the actual coasters completed, I set myself to the task of building something to house these lovely drink pedestals while not in use. I (somewhat understandably) had a couple pieces of scrap plywood lying around the house as well as some fairly thick oak dowels which I'd saved from a botched speaker coffee table project I attempted long ago (if any of you ever wondered what happened to the "brother" speaker of the Fisher that I used to build my speaker media cabinet some 2+ years ago, well... that's what happened. I tried to do something with it, then I fucked up. Then I broke it into pieces and put it in the garbage. The end).
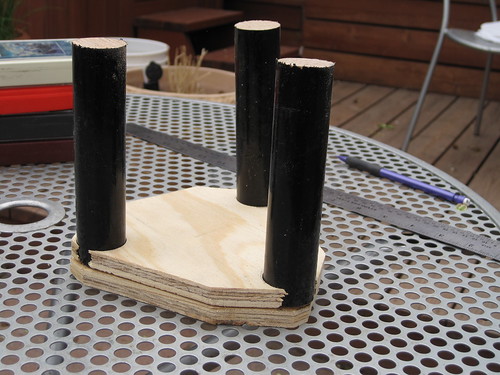
With these scraps from Good Rubbish's proud past I was able to piece together a plausible construct for holding these things in place:

Clearly though, some work needed to be done to get this thing looking even mildly respectable. I started by tracing a line around the outside of the 8 tracks and oak dowels as they were placed in the previous photo:
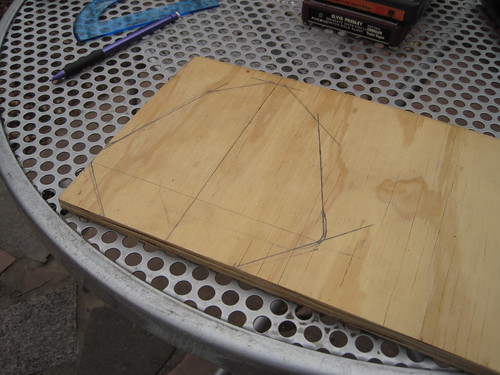
Next I cut out that shape using Father McHanslaw's Eisenhower-era jigsaw, then traced and cut out the shape on another piece of plywood, thus leaving me with 2 fairly identical-ish pieces of plywood.
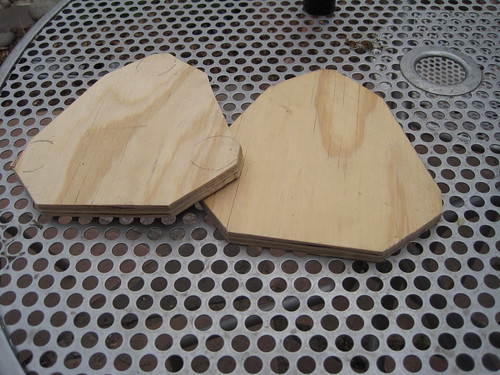
You may note (completely up to you, of course) that one of the pieces also has the circumference of the wood dowels traced out on top of it; this is due to the fact that I intended to cut out the shape of those dowels on one, but not both of the base pieces of plywood. So, how did my trusty hole saw and I fare in this venture? The true answer may never be known.
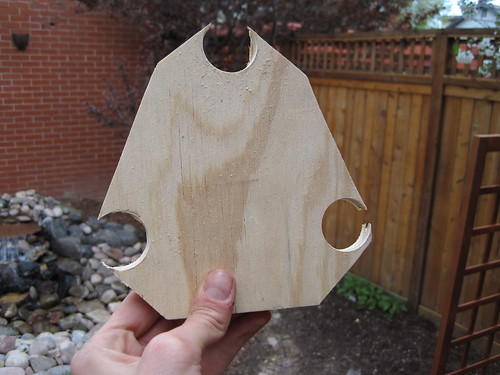
Please do your best to not be repulsed by my freakish hitchhiker's thumb. It's supposed to bend like that. I swear.
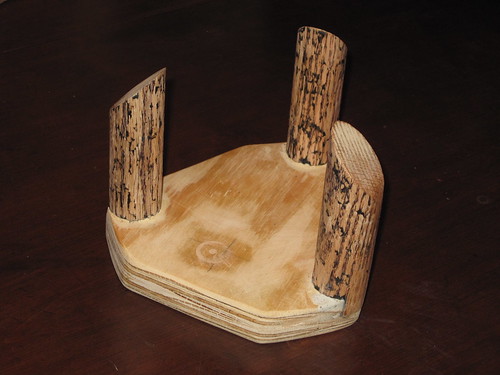
Next I glued the two pieces of plywood together using good 'ol Gorilla Glue, then placed the dowels into their proper positions to make sure everything looked hunky-dory from a conceptual standpoint. It did, so I proceeded.
At this point I promptly stopped taking pictures for some reason or another (probably an unexpected impulse of my rarely-seen brevity reflex) as I suffered through several extremely tedious tasks. First I took my miter box and cut angled endpoints into all of the oak dowels (getting all 3 to the exact same length proved more difficult than I'd imagined, and truth be told I never did get them all to be the exact same size). Next I glued the dowels into their final positions before drilling screws into them from underneath the lowest layer of plywood (in case you hadn't figured it out yet, this is why I only cut the shape of the dowels out of 1 of the pieces of plywood - and why I used 2 pieces of plywood instead of just 1 - because otherwise I would have had to screw the dowels into place from the sides instead of from the bottom, which would have made the whole piece a lot less attractive and probably significantly less stable).
After all that I took a razor blade and scraped off the black paint and polyurethane that the dowels were coated in (a side effect of their days acting as hopeful coffee table legs... this step was without a doubt the most time consuming and least enjoyable part of the entire project), and finally I used plastic wood, JB Waterweld and standard wood filler to fill in all of my razor blade/saw gouges before sanding the whole thing down to a relatively smooth finish:
Wait... no, that one was taken before I sanded it down to a relatively smooth finish. The rest of what I said was true through, I swear. Now this next picture, THIS one shows the thing with a relatively smooth finish:
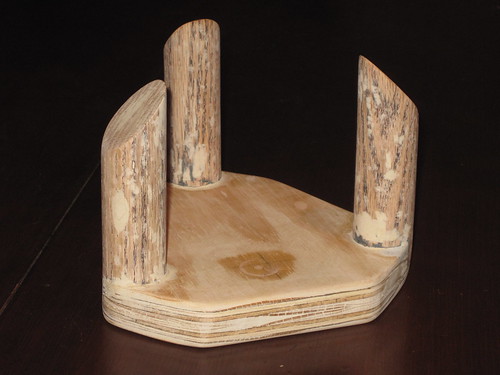
As you can tell from the giant blobs of wood-filler residue on each of the oak dowels, I took some pretty decent chunks of wood out during the razor blade phase. Considering the time it took to get that paint off of there (probably 1.5 to 2 hours) plus the time it took to repair the damage I'd done while removing the paint, I really wouldn't recommend doing this unless you absolutely have to. Unfortunately, since I was going to paint over the whole thing once again, I had to get that polyurethane off of there, so I wasn't left with much of a choice in the matter, and the first method of paint removal I tried (low grit sandpaper) was utterly ineffective. Oh well, lesson in Pyhrric victory learned.
My ultimate goal with this coaster holder piece was to make it look like a single piece of wood, instead of 5 pieces of wood glued together. After applying a few coats of black paint and a singular coat of polyurethane, I don't think I accomplished this end with a level of success that my contemporaries would call "spectacular," but considering that I'm but a simple weekend hobbyist (albeit a devastatingly attractive, chiseled and articulate one) I think I came out looking alright here.
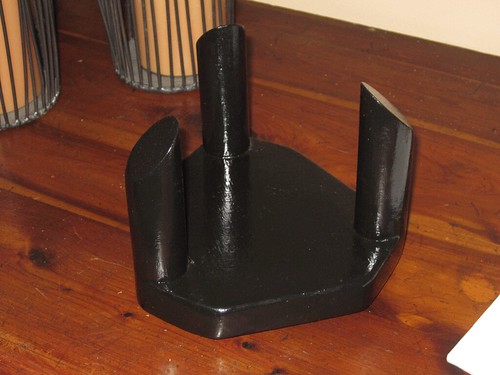
At long last, a shot of the piece in all of its fully assembled glory:
And for the ladies, a shot from the backside:
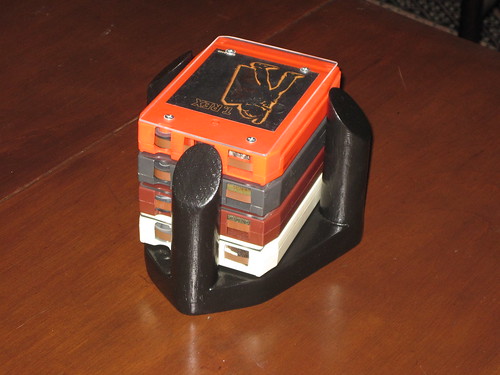
And finally, we see our new 8 track coaster set alive and well in its natural habitat. Wonderful!

If you've got a moment, take note of the Otter Pop stain that Father McHanslaw left in the exact middle our family's lovely white sofa. Sir Issac Lime, this living room weeps for you.
So that's all I've got for today. Hopefully next time I'll do better... or at the very least, quicker.


1 comment:
Sweet rubbish! I would have paid for the T. Rex 8-Track. I do have an old player somewhere in a box. Raised on Golden Earring, Chilliwack, and Nazareth on 8-Track. One of the old green Hair of the Dog tapes would complete your set.
What would make some real good rubbish would be a black, vinyl, alligator, with red velvet interior, 24 capacity, 8-track case!
Post a Comment