
.
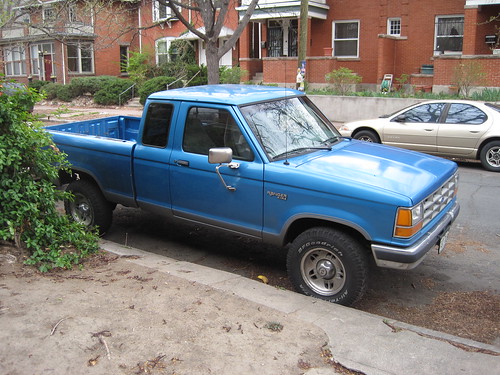
As devoted readers of my precious blog will surely recall, I purchased myself a pickem-up truck some 9 months ago. I've come to call her Dutch, though she might not actually be a woman. Honestly I have no idea, and I don't care to find out the truth of the matter. Regardless, this is what "she" looks like:
Though Dutch is really in pretty great aesthetic shape considering her vintage (1992), the headliner in the cab was starting to sag as a result of occasional intrusions of water from the roof and a constant barrage of gravity from the cosmos, so I decided to call up my go-to automotive repair buddy Danger Dan to help me replace it.
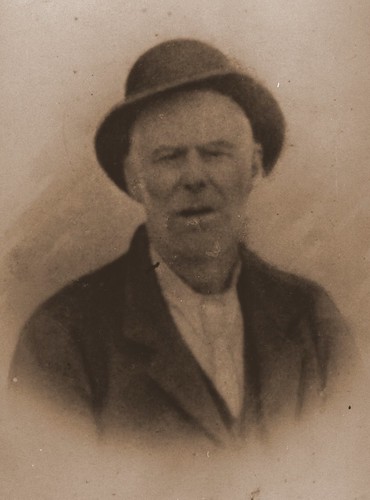
This, as they say in the industry, is Danger Dan. He's a crusty old east coaster. Hails from Allegheny, PA to be exact. Known him a great many years, I have. And one time, he done wrastled himself a whole family of wolverines with just his bear hands, which he'd ripped off a mother grizzly no more than 20 minutes earlier. And that was just with his human hands. Truly a man of great intrigue and consequence, and perhaps consequently a man with great and random stuff. Why, a leisurely stroll around his workspace reveals a whole world of treasures...
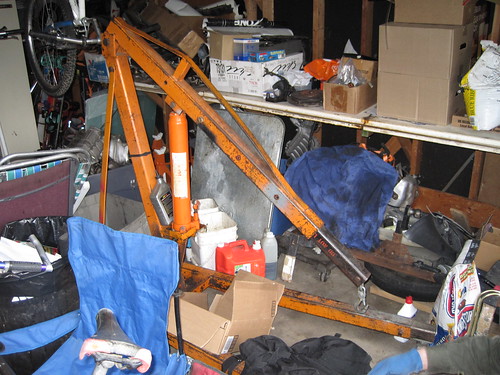
Like an engine lift!
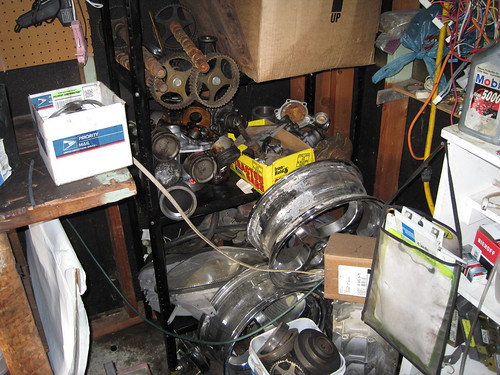
And a pile of Mitsubishi rims and fashionable/utterly impractical cast-iron steampunk accessories!
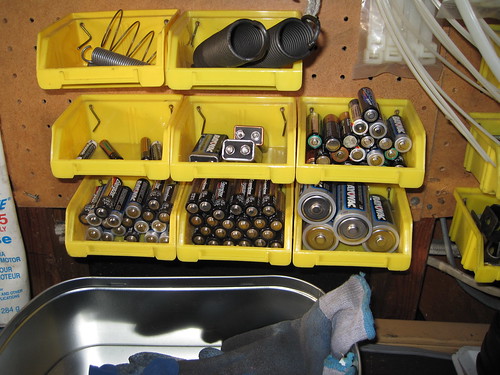
Meticulously organized batteries!
And also one time, he took a drum from an old washing machine and turned it into a backyard grill pit thing.


See???
Anyway, Danger Dan has been an exceptionally good friend to me over the years, but has also served as an invaluable informational resource for me in more recent years, as he knows an obscene amount about automobiles, and I apparently know almost nothing about buying vehicles that don't break down all the darned time (though to her credit, outside of a battery replacement and a couple failed hoses, Dutch has been rock solid in terms of reliability). He's taught me how to change my oil, he's taught me how to install a car stereo, he's taught me how to change the tension on a Saab 900's clutch cable, and he's taught me how to safely move and securely reattach my truck's horrendously placed center-console-armrest-storage-unit-thingy (this last project was far more complicated than it sounds and would have made a great Rubbish post, but unfortunately my camera was nowhere to be found that day).
Dan also serves as a great counterbalance to me from a project creation standpoint, as he likes to think out everything that he's going to do on a project before he actually does it, which tends to minimize mistakes and maximize results. This of course stands in direct contrast to my typical building methodology which involves putting whatever I'm working on together via a sequence of whims and notions, then finding creative ways to fix the problems that arise after I inevitably and invariably screw everything up on it.
Different strokes for different folks, but there's no doubting that for a detail-oriented, meticulous project like replacing a truck's headliner, Dan's creative method is just downright superior to my own.
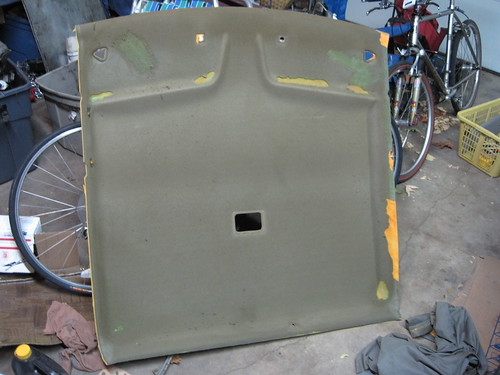
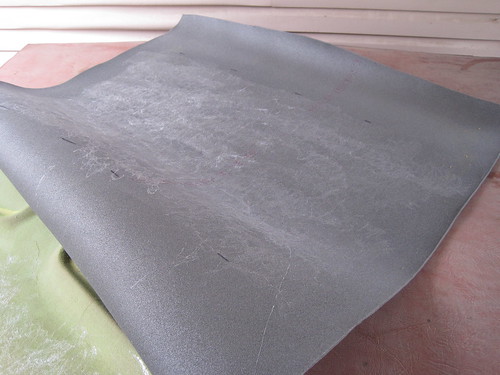
This...
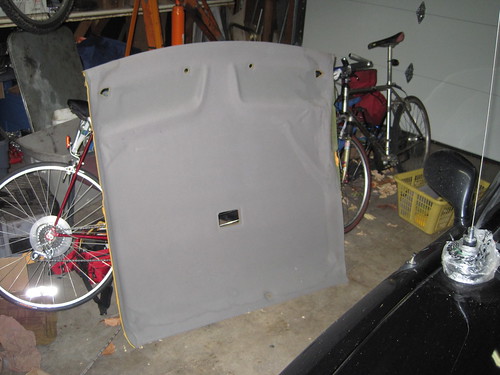
...is my truck's old headliner. It shouldn't be too tough for you to see the sagging fabric and water stains around the outside of the piece, but this next picture should articulate the problems better still:
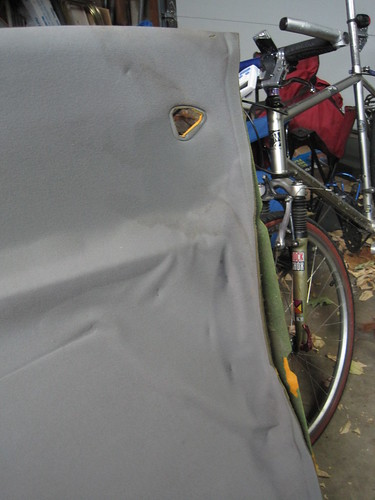
I know, gross, right?
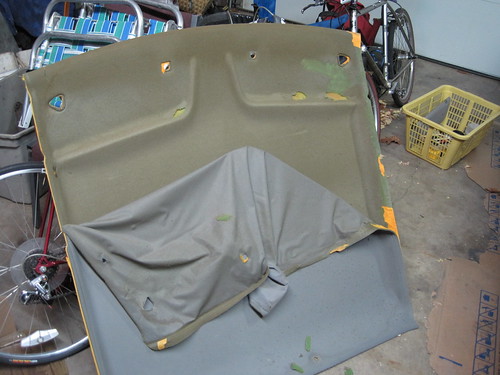
Before we go any further, you must first know this: Your standard headliner is made up of two components - the fiberglass molding that gives your headliner its shape and the headliner fabric that gives your car's roof its kissably soft look and feel. But that's really only 66% of the story, as the headliner fabric is actually made up of two components as well - the foam that attaches to the fiberglass molding and the fabric that covers up the foam. This means that there are two adhesive joints in this construct that can fail - the one between the foam and the fabric and the one between the foam and the fiberglass. In my case, the adhesion between the fabric and the foam was failing, which meant that as I peeled away the fabric most of the foam was left behind, still clinging to the fiberglass molding.
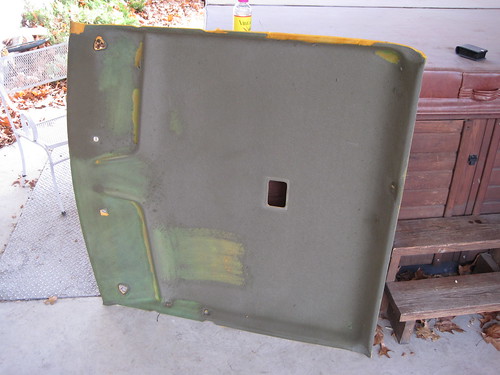
Any application of a new headliner would have looked absolutely horrible if I didn't get that foam off of the fiberglass molding first (and apart from that, it probably would have stayed in place for about 12 minutes before peeling off from my car's ceiling, letting off the faint sound of a distant foghorn as it draped down over my truck's interior), so Dan lent me a small metal wire brush (yep, that's the brush alright) and I set myself to scraping off all of this 20 year old (and almost certainly carcinogenic) foam, inch by inch.
This is what it looked like when I'd only scraped off a couple teeny tiny areas of the foam.
And this is what it looked like when I'd scraped off a little more of the foam. And also I'd leaned the whole thing against a hot tub. And I turned it on its side for some reason or another. That's what happened.
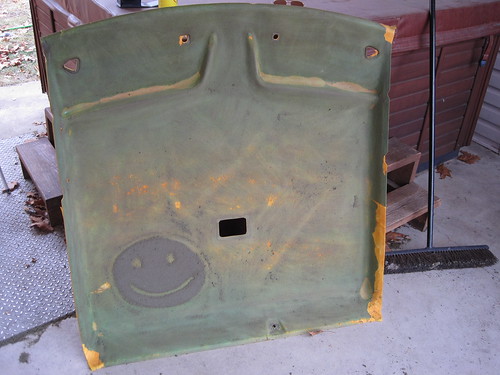
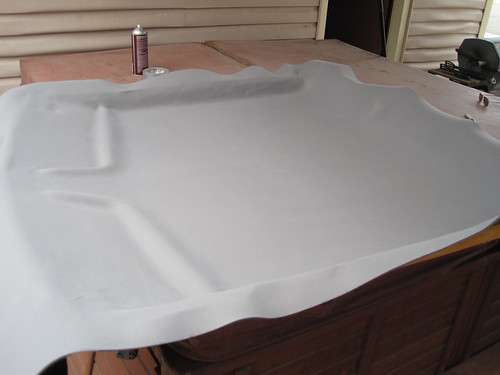
And this is what it looked like with all of the foam gone except for a smiley face.

And this is what it looked like with all of the foam gone except for a banana.

And then after that, there was no banana at all.
So it goes.
I bought new headliner fabric at a very cool and somewhat obscure shop in Denver called B-D Company on Broadway, and they recommended that I use 3M brand's "General Trim Adhesive" so I picked up a can of that as well (though in the end it very frustratingly required 1 full can of the stuff plus about 1/64th of a second can to get the job done properly). The trim adhesive shot out like a mixture of silly string, cotton candy, and Spiderman web goo, though somehow I was able to restrain myself from eating it despite the fact that two of these things rank highly on my list of favorite foods.
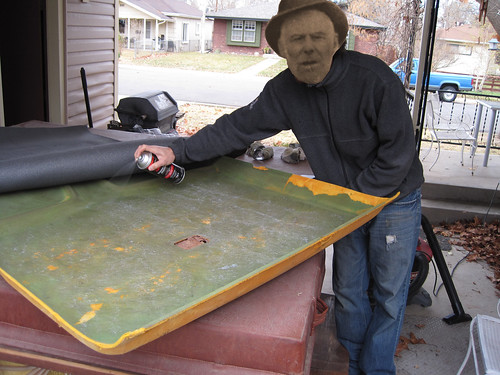
Here's Dan laying down a liberal but not overwhelming coat of the stuff on the fiberglass side of things.
We put some on the underside of the headliner fabric as well, to really make sure we got a strong bond between the two. We then softly pressed the headliner down to get it firmly into place... if you're trying this at home, imagine that you're kneading a ball of pizza dough that you're utterly terrified of. That's the level of pressure you want to be creating.
Once the middle was secured and somewhat dried, we glued and affixed the corners and other assorted tricky areas, until we were left with something like this:
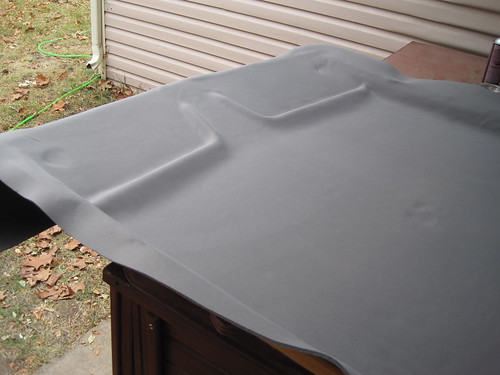
There were a few wrinkles and dimples left after the fact that we couldn't get rid of for whatever reason (this bothered Dan far more than it bothered me), but things were generally as we wanted them to be so we cut the extra fabric around the sides and wrapped the front end of the fabric (the only end that wouldn't be covered by plastic trim inside the cab) around the fiberglass molding to complete the job. After that it was just a matter of reinstalling the bastard inside the cab, which was FAR more of a pain in the ass than you'd imagine, as it involved removing/reattaching all of the seat belts and plastic trim, and getting the stupid little dome light thing into a position where it would work properly and not fall onto the center console every time I went over a pothole.
But ultimately, and predictably, we claimed victory.
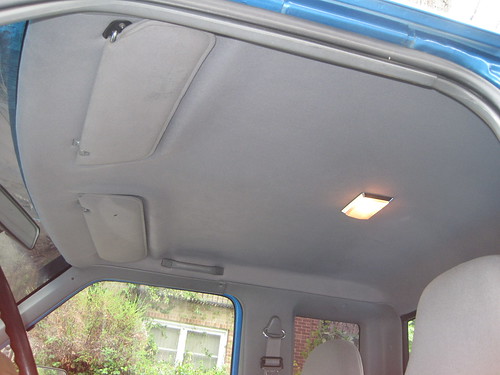
An improvement? Absolutely. A somewhat underwhelming photograph to end a catastrophically long blog post? You bet your sweet heinie it is. Tah!!!


1 comment:
Blog buddy! Your writing is hi-laire. Thanks for the bookmark. You gotta follow on Google. It's all about the Google Reader baby. I'm going to be doing some DIY projects soon...we'll see how it goes.
Post a Comment